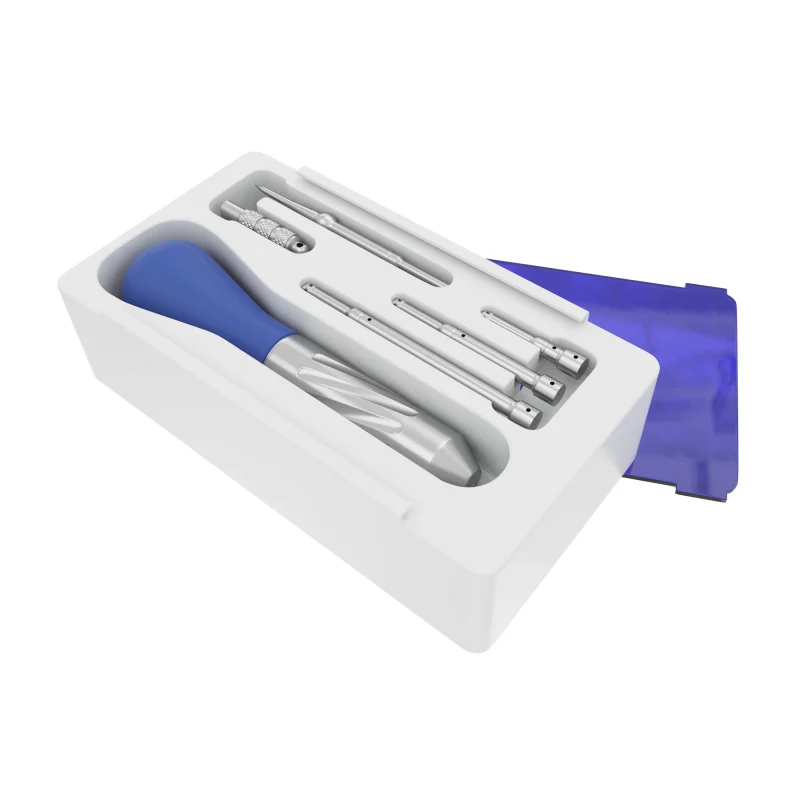
Tools for Mini-Screw and TAD Insertion – TAD Placement Tools
Temporary Anchorage Devices (TADs), also known as mini-screws, have transformed orthodontics by offering reliable anchorage for complex tooth movement. Their success, however, depends greatly on using the right orthodontic tools for TAD placement to ensure precision, stability, and patient comfort. From pilot drills to torque drivers, the correct orthodontic tools for TAD placement minimize risks, improve accuracy, and enhance treatment outcomes. For orthodontists, understanding and mastering these orthodontic tools for TAD placement is essential for achieving predictable clinical results.
In this blog, we’ll break down the essential TAD placement tools and their roles in ensuring accurate, safe, and predictable mini-screw insertion.
1. Pilot Drills (Optional)
- Some cases require pre-drilling to ease mini-screw insertion, especially in areas of dense cortical bone.
- Pilot drills create a small guide hole that minimizes the risk of root contact and screw fracture.
- These are usually low-speed, precision-driven drills that help improve accuracy.
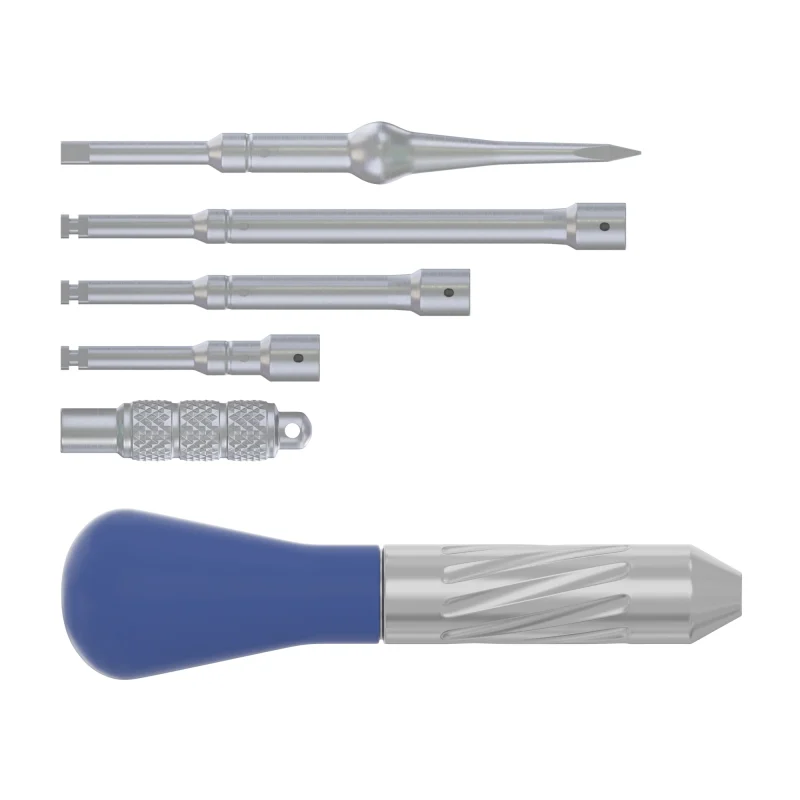
2. Screwdrivers / Insertion Drivers
- The most critical tool for placing TADs.
- Available in manual (hand driver) or motor-driven (contra-angle driver) designs.
- Ensure controlled torque during insertion, preventing screw stripping or breakage.
- Drivers are often system-specific, designed to fit the head of the mini-screw.
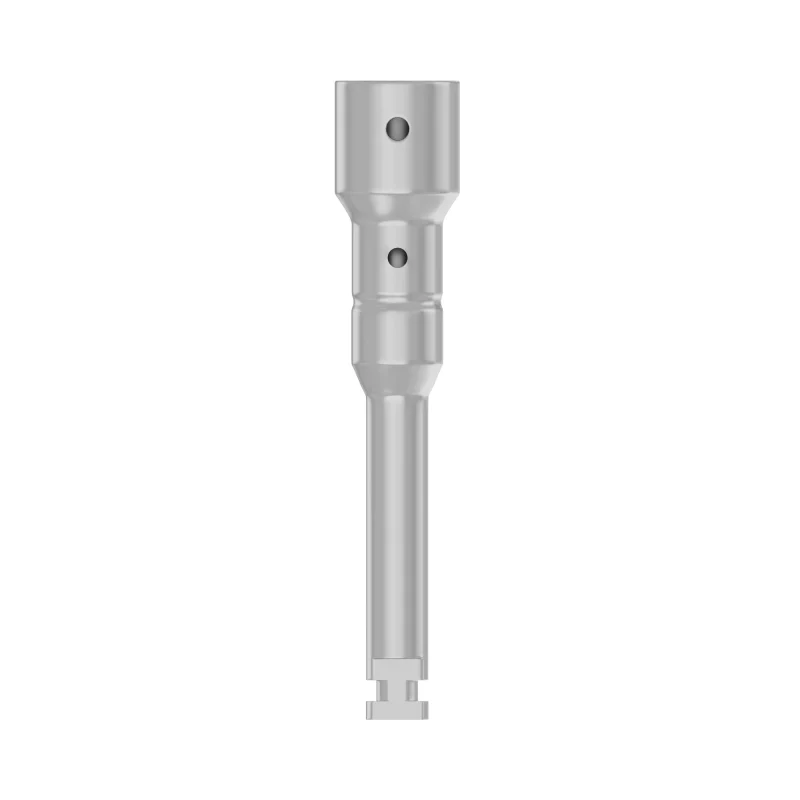
3. Contra-Angle Handpiece Attachments
- For practitioners who prefer motor-assisted insertion, contra-angle attachments allow smooth, controlled placement.
- Ideal for difficult-to-access areas, especially posterior regions.
- Reduce operator fatigue and increase precision.
4. Torque Control Devices
- Proper torque application is crucial for primary stability.
- Torque wrenches or built-in torque control systems help measure insertion torque, ensuring it falls within the recommended range (usually 5–10 Ncm).
- Prevents over-tightening, which could cause bone microfracture, and under-tightening, which could compromise stability.
5. Positioning Guides
- Help maintain the correct angulation and placement site.
- Guides are particularly useful for beginners or in anatomically challenging regions.
- Ensure the mini-screw is aligned correctly to avoid root proximity.
6. Soft Tissue Punch / Periotome
- Used when placing TADs in attached gingiva to minimize tissue impingement.
- Creates a small circular incision in the soft tissue, ensuring the screw engages directly with bone without gingival interference.
7. Irrigation and Cooling Systems
- When pilot drilling is required, irrigation ensures proper cooling and prevents bone overheating.
- Helps maintain bone viability and enhances osseointegration.
8. Removal Tools
- Dedicated screw removal drivers or hand instruments allow safe retrieval of TADs when no longer needed.
- Designed to reverse the insertion process without damaging bone or surrounding tissue.
Final Thoughts
The success of mini-screw and TAD placement is not just about clinical skill—it’s equally dependent on using the right tools. From precision drivers to torque-measuring devices, each instrument plays a vital role in enhancing accuracy, safety, and efficiency. Orthodontists should select system-compatible tools and stay updated with advancements in TAD placement technology for the best patient outcomes.
By combining proper training, careful case selection, and the right toolkit, orthodontists can maximize the benefits of TADs in modern treatment planning.